什么是 Spring Boot
Spring Boot 是由 Pivotal 团队提供的全新框架,其设计目的是用来简化新 Spring 应用的初始搭建以及开发过程。该框架使用了特定的方式来进行配置,从而使开发人员不再需要定义样板化的配置。通过这种方式,Boot 致力于在蓬勃发展的快速应用开发领域(rapid application development)成为领导者。
Spring Boot 并不是要成为 Spring IO 平台里面众多 “Foundation” 层项目的替代者。Spring Boot 的目标不在于为已解决的问题域提供新的解决方案,而是为平台带来另一种开发体验,从而简化对这些已有技术的使用。对于已经熟悉 Spring 生态系统的开发人员来说,Boot 是一个很理想的选择,不过对于采用 Spring 技术的新人来说,Boot 提供一种更简洁的方式来使用这些技术。
上述描述引用自《深入学习微框架:Spring Boot》一文,该文适合初学者了解学习 Spring Boot。
使用 Spring Boot 集成 Mybatis
和前面的两篇文章《Mybatis 基于 Web 应用的使用》和《MyBatis 与 Spring 以及 Spring MVC 的整合》集成的方式相同,这里改用 Spring Boot 来集成。还是使用 Eclipse,需要安装 Spring Tool Suite 插件并创建 Spring Boot 项目,请自行百度,网上教程一抓一大把。
创建项目
新建一个 Spring Boot 项目,完成后的项目结构如下图: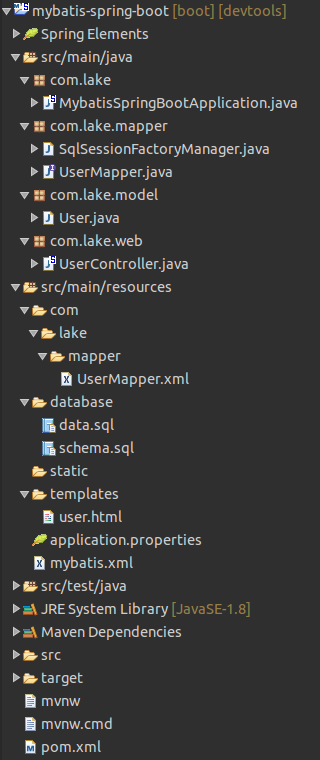
添加 mybatis 和 mysql 的依赖到 pom.xml 文件:
创建数据库
schema.sql
|
|
data.sql
|
|
POJO 类的创建
User.java
|
|
添加 MyBatis 的配置文件
在 resources 目录下建立 mybatis.xml 文件,其中定义了 Java 类所对应的别名、数据源和 mapper 文件的位置:
其它的 XML 映射配置文件可参见官网。
定义 Mapper 接口
定义 Mapper 的 Java 接口,用来访问数据库的接口,其中包括数据库操作的增删查改:
使用 XML 定义 Mapper
根据已实现的 Mapper 接口,我们需要通过 XML 来给出 Mapper 的实现,通常将 xxxMapper.xml(UserMapper) 文件放在 resources 目录下对应于 Mapper 接口的 com/lake/mapper/ 目录中。
Mapper XML 文件更加详细的配置信息,参考官网的 Mapper XML 文件版块
通过单例创建 SqlSessionFactory
|
|
编写 Controller 类
|
|
编写 user.html 页面
|
|
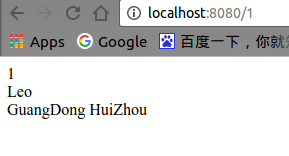
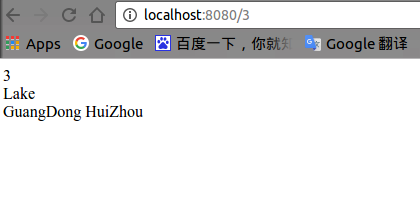
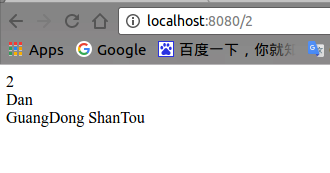
运行结果
引入 MyBatis-Spring
何为 MyBatis-Spring
MyBatis-Spring 会帮助你将 MyBatis 代码无缝地整合到 Spring 中。 使用这个类库中的类,Spring 将会加载必要的 MyBatis 工厂类和 session 类。 这个类库也提供一个简单的方式来注入 MyBatis 数据映射器和 SqlSession 到业务层的 bean 中。而且它也会处理事务,把 MyBatis 的异常转换为 Spring 的 DataAccessException 异常(数据访问异常,译者注)中。最终,它并 不会依赖于 MyBatis,Spring 或 MyBatis-Spring 来构建应用程序代码。
上述描述引用自官网的 mybatis-spring。
添加 MyBatis-Spring 依赖
|
|
添加 applicationContext.xml srping 配置文件
在 resources 目录下建立 applicationContext.xml 文件,其中定义了数据源和 mapper 文件的位置,以及引入了 SqlSessionFactoryBean 来创建 SqlSessionFactory。由于 mybatis 的配置工作转交给 spring 了,因此可以删除 mybatis.xml 的配置文件,如果仍需要在 mybatis 中进行配置,也可保留它并在 sqlSessionFactory bean 下添加 configLocation 属性:
applicationContext.xml
|
|
Java 添加配置文件
|
|
修改 Controller 类
|
|
这里使用 @Autowired 自动装载 UserMapper,因此也不需要创建 SqlSessionFactory 和 SqlSession 的代码了,可以删除 SqlSessionFactoryManager 这个类。
运行结果
引入 MyBatis Spring Boot Starter
Spring Boot 的 Starter 可以认为是一种方便的依赖描述符,需要集成某种框架或者功能(如集成 JPA、Thymeleaf 或者 MongoDB)时,无需关注各种依赖库的处理,无需具体的配置信息,由 Spring Boot 自动扫描类路径创建所需的 Bean。比如把 spring-boot-starter-data-jpa 的依赖添加到 POM 文件中,就可以方便地使用 JPA 进行数据库访问了。
MyBatis Spring Boot Starter 可以使得使用 MyBatis 变得更加简单:
- 自动扫描类路径下数据库驱动类,创建 DataSouce 实例
- 基于 DataSource 自动创建 SqlSessionFactoryBean 实例
- 自动扫描映射器相关类,生成所需要 Mapper 实例
添加 MyBatis Spring Boot Starter 依赖
|
|
有了这个依赖,MyBatis 和 MyBatis-Spring 的依赖都不再需要,他们会通过 mybatis-spring-boot-starter 间接地引入。
在 application.yml 中添加相关配置
|
|
由于 Spring Boot 会自动扫描类路径创建所需的 Bean,因此不再需要 applicationContext.xml 和 AppConfig.class 这两个文件了,可以直接删除。
给 Mapper 添加 @Mapper 标注
为了让 Spring Boot 能够自动扫描到 Mapper 类,为其创建 Bean 实例,需给 Mapper 添加 @Mapper 标注。
运行结果